How to Prevent Bots from Abusing a WordPress Login Form with Honeypot Protection

Stop bot abuse on a WordPress login form by combining Login Lockdown with a quiet honeypot field. WordPress is used by about 43% of all websites, which makes its login page a common target for automated attacks [source: W3Techs]. A honeypot blocks many bots before they can waste server resources. Login Lockdown then limits repeated failed attempts, which gives you a second layer of control.
TLDR: Add a hidden honeypot field to your WordPress login form, then use Login Lockdown to restrict repeated failed login attempts. For example, if a small business sees 1,200 login hits per day and 92% are automated, a honeypot can quietly reject many of them before password checks even run. Login Lockdown can then block IPs that keep guessing passwords. This setup is simple, cheap, and far better than leaving wp-login.php exposed with no friction.

Why bots attack WordPress login forms
Bots hit WordPress login pages because the target is predictable. Most sites use the same login endpoint. Many owners also keep the username admin, use weak passwords, or never check failed login logs.
Honestly, it feels like some sites are left with the front door wide open. A bot can try thousands of username and password pairs. Even when it fails, it still burns CPU, fills logs, and may slow the site for real users.
A serious login defense should do three things:
- Reject obvious bots early.
- Limit repeated failures.
- Keep the login process usable for real people.
What honeypot protection does
A honeypot is a fake form field that normal users do not see. It is hidden with CSS or placed in a way that people will not fill it in. Bots, on the other hand, often fill every field they find. When the hidden field contains a value, the request is treated as suspicious.
This is useful because it is silent. There is no puzzle. No extra click. No annoying image challenge. Real users do not notice it.
The catch is that honeypots are not perfect. Smarter bots can learn to skip hidden fields. That is why a honeypot should not be your only defense. It works best beside rate limiting and failed attempt blocking.
Use Login Lockdown as the control layer
Login Lockdown is built to reduce brute force login attempts. It records failed login attempts and can restrict further attempts from the same IP range after too many failures. That matters because brute force attacks rarely stop after one bad password.
You should also review the official site at WP Login Lockdown for setup details, options, and product information. Keep the plugin updated. Login protection is not something to install once and forget for three years.
A sensible setup might look like this:
- Allow 3 to 5 failed attempts before a lockout.
- Use a lockout time of 15 to 60 minutes for normal sites.
- Watch repeated lockouts from the same network.
- Pair the lockout with a honeypot to reject simple bots earlier.

How to add honeypot protection safely
The safest way is to add honeypot logic through a small custom plugin or a child theme function. Do not edit WordPress core files. That causes pain later. Updates will overwrite changes, and debugging becomes messy.
Your honeypot should follow a few rules:
- Use a harmless field name. Do not call it “honeypot.” Bots may skip it.
- Hide it from humans. Use CSS that keeps it away from normal view.
- Check it before login authentication. If filled, stop the request.
- Log blocked attempts. This helps you see attack patterns.
- Do not reveal the reason. Show a generic login failure message.
Expect to waste time if you skip testing. Some password managers and browser tools may interact with unusual fields. Test with Chrome, Firefox, Safari, and at least one mobile browser. A login fix that blocks your own customers is not a fix.
Practical settings that reduce abuse
Start with conservative rules. You can tighten them after looking at your logs. If the site has many editors, customers, or members, be careful with strict lockouts. People mistype passwords. That is normal.
For a typical business site, use this baseline:
- Failed attempts: 5 attempts per IP before lockout.
- Lockout duration: 30 minutes.
- Honeypot action: reject the request without processing the password.
- Admin review: check lockout logs weekly.
- Password policy: require long, unique passwords for all admin users.
If attacks are heavy, reduce the attempt limit to 3. If real users complain, raise it back to 5 or shorten the lockout time. Security should stop abuse, not punish normal people.
What to monitor after setup
Do not judge the setup after five minutes. Give it a few days. Compare login attempts before and after the honeypot. Look for fewer password checks, fewer repeated failures, and fewer lockouts from the same IP blocks.
Track these numbers:
- Total login attempts per day.
- Failed login attempts per day.
- Honeypot blocks per day.
- Login lockouts per day.
- Support tickets about login issues.
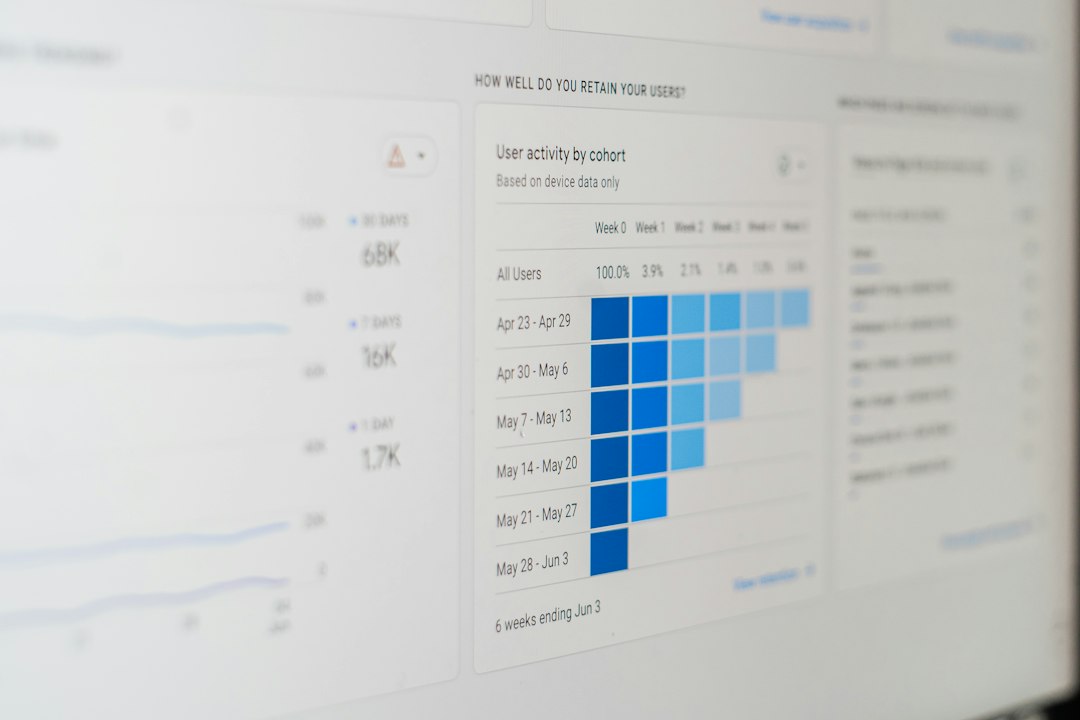
If honeypot blocks rise but lockouts fall, that is a good sign. It means junk requests are being stopped earlier. If support tickets rise, adjust the setup. A secure login still needs to be usable.
Final checklist
- Install and configure Login Lockdown.
- Add a hidden honeypot field to the login form.
- Block requests when the honeypot field is filled.
- Use strong passwords and unique admin usernames.
- Review logs weekly.
- Update WordPress, themes, and plugins on time.
A honeypot is not magic. It is a quiet filter. Login Lockdown is the pressure valve for repeated failures. Together, they give a WordPress login form a serious and practical defense against common bot abuse.