Ship Performance Monitoring Systems Explained: Features, Benefits, and Best Maritime Software
Ships are huge. Oceans are wild. Fuel is expensive. So, modern fleets need more than a captain’s instinct and a clipboard. They need smart tools…
Ships are huge. Oceans are wild. Fuel is expensive. So, modern fleets need more than a captain’s instinct and a clipboard. They need smart tools…
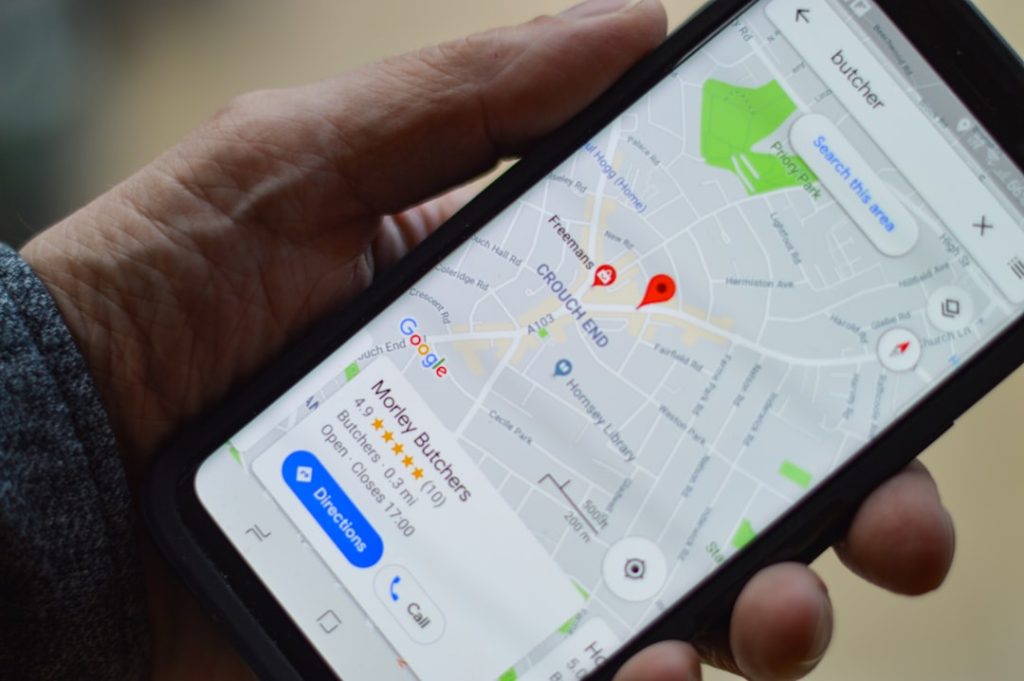
For small businesses, local visibility in 2026 depends on more than having a website. Search engines, maps, voice assistants, review platforms, and neighborhood apps all…
Ecommerce brands collect partner contacts like shoppers collect discount codes. Fast. Then the list gets messy. You have “Head of Growth,” “Creator Manager,” “Partnerships Lead,”…
In ecommerce organizations, job titles often blur the line between marketing and commerce. A Growth Manager may run ads, a Digital Merchandiser may influence conversion,…
Medicare scam calls can feel like mosquitoes at a picnic. Annoying. Sneaky. Hard to swat away. The caller may sound friendly. They may even know…
As teams grow, knowledge has a way of scattering across chats, emails, docs, tickets, and the minds of a few overworked experts. In 2026, a…
Houseparty was the app that made video calls feel like a couch hangout. You opened it, saw who was “in the house,” and jumped into…
Clear communication is one of the strongest foundations of productive relationships, effective leadership, and successful collaboration. When messages are vague, people are left to guess…
Brand awareness campaigns have a different job from direct-response campaigns. Instead of asking people to buy, sign up, or download immediately, they introduce a brand,…
Instagram has become a visual search engine for creators, shoppers, brands, and researchers looking for timely conversations and niche inspiration. While the platform was once…