What Is ISO in Photography? Adobe Lightroom vs. Capture One for Understanding Exposure Settings
ISO is the camera setting that makes your photo brighter or darker by changing how much the camera boosts the signal from light. A low ISO, like 100, keeps images cleaner. A high ISO, like 3200, helps in dark rooms but adds grainy noise. Adobe explains ISO as part of the exposure triangle with aperture and shutter speed [source: Adobe].
TLDR: ISO is your camera’s “brightness boost,” but it comes with a trade. ISO 100 is clean, while ISO 6400 can save a dark concert shot but may add noise. Example: if your shutter speed is too slow at 1/15 second, raising ISO from 400 to 1600 gives you 2 extra stops, often enough to reach 1/60 second. For learning exposure, Lightroom is simpler, while Capture One gives more control once you know the basics.
ISO in plain English
Think of ISO like turning up the volume on a tiny whisper.
The whisper is the light hitting your camera sensor. When there is lots of light, no problem. ISO 100 works great. When the light is weak, the camera boosts the signal. That is higher ISO.
But here is the annoying bit. Boosting the signal also boosts the mess. You get noise. Noise looks like colored specks, grit, or crunchy texture in the shadows.
Sometimes noise is fine. Street photos can look cool with grit. Wedding photos of a first dance? Maybe not so much.
The exposure triangle, without the headache
ISO is only one piece. It works with two other settings.
- Aperture: How wide the lens opens. Lower f numbers let in more light.
- Shutter speed: How long the camera collects light. Slow speeds add blur.
- ISO: How much the camera boosts the light signal.
These three settings trade jobs. If one changes, another may need to change too.
Say you shoot a dog running indoors. Your photo is blurry at 1/30 second. So you raise the shutter speed to 1/250 second. Great. The dog is sharp now. But the photo gets darker. So you raise ISO from 400 to 3200. Boom. You saved the shot.
Did you add noise? Yes. Did you get the photo? Also yes. That is photography. Tiny victories. Tiny compromises.
What ISO numbers mean
ISO usually moves like this:
- ISO 100
- ISO 200
- ISO 400
- ISO 800
- ISO 1600
- ISO 3200
- ISO 6400
Each step doubles the brightness boost. ISO 200 is one stop brighter than ISO 100. ISO 400 is one stop brighter than ISO 200.
So ISO 800 is three stops brighter than ISO 100. That sounds small. It is not. It can be the difference between a sharp birthday photo and a blurry disaster with cake in it.
When should you use low ISO?
Use low ISO when light is strong or your camera is steady.
- Sunny outdoor portraits
- Studio photos with flash
- Product shots on a tripod
- Travel photos at noon
Low ISO gives cleaner files. Colors often look richer. Shadows hold together better. Editing is easier too.
ISO 100 or 200 is a safe starting point. If your shutter speed is fast enough, stay there.
When should you use high ISO?
Use high ISO when light is low and motion matters.
- Indoor sports
- Concerts
- Restaurants
- Weddings
- Kids running around the house like tiny storms
High ISO helps you use faster shutter speeds. It also helps when you cannot use flash. Museums, churches, theaters, and sleepy babies all hate flash.
Modern cameras are much better at high ISO than older ones. ISO 3200 used to feel scary. Now it can look very usable, especially after editing.
Where Lightroom helps you understand ISO
Adobe Lightroom is friendly for learning exposure. It keeps the main tools in one clear panel. You see Exposure, Highlights, Shadows, Whites, and Blacks stacked together.
That is useful. Very useful.
If your ISO was too high, you can open the Detail or Noise Reduction controls. You can reduce noise, sharpen edges, and compare before and after fast.
Lightroom also has a simple histogram. This little graph shows where your tones sit. Left means dark. Right means bright. If everything is crushed left, your shot is underexposed. If everything slams right, highlights may be blown.
Honestly, it feels like Lightroom hides some lessons under soft sliders. The interface is clean, yes. But beginners may drag Exposure to +1.50 and think the problem is fixed. It may not be. If the photo was shot at ISO 12800 and underexposed by two stops, the shadows can still look rough.
Lightroom is best when you want quick feedback. Move a slider. See the result. Learn by doing.
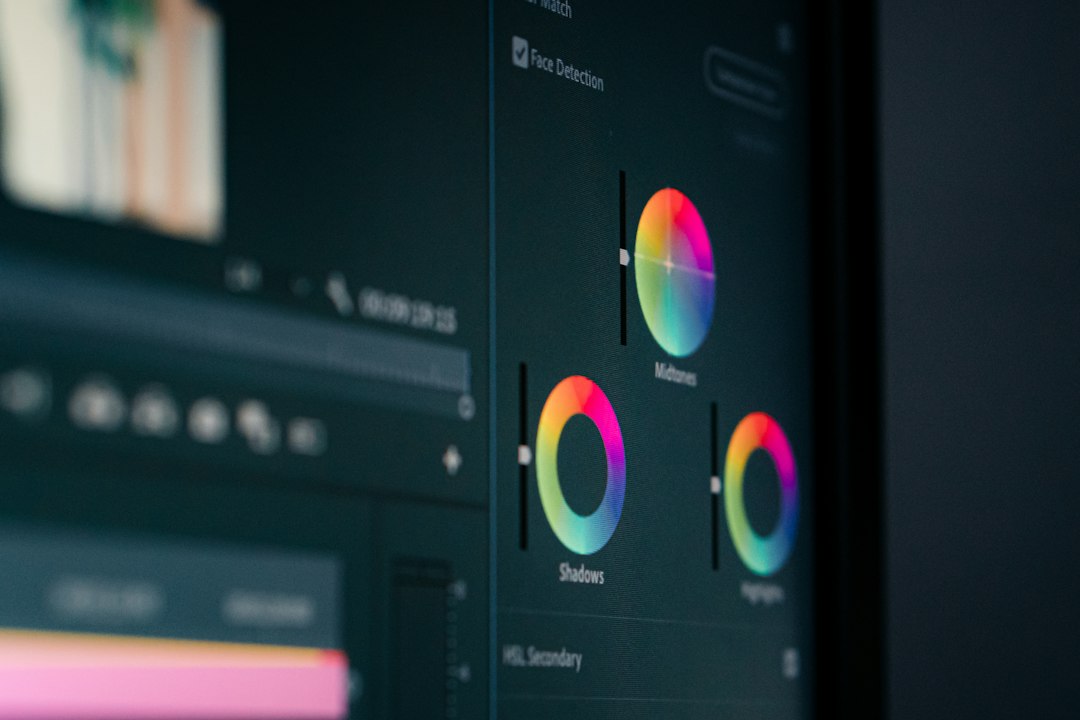
Where Capture One helps you understand exposure
Capture One feels more technical. At first, that can be irritating. There are tabs, tools, curves, levels, color controls, and panels everywhere. Expect to waste time hunting for a tool the first week.
But once it clicks, Capture One is excellent for reading exposure. Its Levels and Curves tools make tonal range very clear. You can see black points, white points, and midtones in a more hands-on way.
Capture One also handles color with serious care. Skin tones, shadows, and highlights can feel more controlled. If high ISO noise shifts color in the shadows, Capture One often gives you very fine tools to fix it.
For studio photographers, Capture One is a favorite because of tethered shooting. You can connect your camera to a computer and see files appear right away. That makes ISO mistakes obvious fast. Too noisy? Lower ISO. Too much motion blur? Raise ISO and speed up the shutter.
Lightroom vs Capture One for learning exposure
Here is the simple version.
| Task | Lightroom | Capture One |
|---|---|---|
| Learning ISO basics | Easier | More detailed |
| Quick edits | Very fast | Fast after setup |
| Noise reduction | Simple and strong | Precise |
| Histogram learning | Clear | More advanced |
| Studio workflow | Good | Excellent |
If you are new, start with Lightroom. It is less fussy. You can learn what ISO did to your photo in seconds.
If you already understand exposure, Capture One can teach you more. It shows tone and color in a deeper way. It rewards patience. It also punishes messy habits. Rude, but fair.
A simple ISO learning exercise
Try this at home. You need a camera, a still object, and one room lamp.
- Set your camera to manual mode.
- Set aperture to f/4.
- Set shutter speed to 1/60 second.
- Take one photo at ISO 100.
- Take another at ISO 400.
- Take another at ISO 1600.
- Take one more at ISO 6400.
Now open the files in Lightroom or Capture One. Zoom to 100%. Look at the shadows. Look at smooth walls. Look at dark corners.
You will see the truth fast. ISO 100 looks clean but may be dark. ISO 6400 looks brighter but noisier. ISO 1600 may be the sweet spot.
Image not found in postmetaCommon ISO mistakes
- Using ISO 100 indoors for moving people. This often causes blur.
- Using auto ISO without limits. Your camera may jump too high.
- Brightening dark high ISO files too much. Noise gets ugly fast.
- Ignoring shutter speed. ISO cannot fix motion blur after the fact.
Auto ISO is not bad. It can be brilliant. Just set a maximum ISO you can live with. For many newer cameras, ISO 3200 or 6400 is fine. Test yours. Do not trust internet arguments. They get weird fast.
Best choice for beginners
Use Lightroom if you want the shortest path to understanding ISO. It is clean. It is quick. It shows cause and effect without making your brain sweat too much.
Use Capture One if you want tighter control and you enjoy technical tools. It is better for careful studio work, color work, and tethered shooting.
The real lesson is simple. Do not fear ISO. Fear blur, missed moments, and photos that never happen. A noisy sharp photo beats a clean blurry one almost every time.
Start low when you can. Raise ISO when you must. Edit smart after that. That is the whole game.