How to Use VMware Fusion on a Mac

VMware Fusion is best used on a Mac by creating a virtual machine, installing a guest operating system, then tuning storage, memory, networking, and sharing settings before daily use. Since VMware Fusion Pro became free for personal use in 2024, it has become a practical choice for students, testers, developers, and home users who need Windows or Linux beside macOS [source: VMware].
TLDR: VMware Fusion lets a Mac run another operating system in a window, without deleting macOS. For example, a Mac user can give a Windows 11 ARM virtual machine 4 CPU cores, 8 GB of RAM, and 80 GB of disk space for app testing. On a 16 GB Mac, that still leaves enough memory for normal macOS tasks if heavy apps stay closed. The process is simple, but the first setup can feel slow because downloads, ISO files, and updates often take longer than the actual install.
What VMware Fusion Does on a Mac
VMware Fusion creates a virtual computer inside macOS. That virtual computer can run Windows, Linux, or another supported system. The Mac stays in charge. The guest system runs in a separate window, almost like a regular app.
There is one big detail. Apple silicon Macs, such as M1, M2, and M3 models, need ARM-based guest systems. Windows 11 ARM is the usual Windows choice. Intel Macs can run standard x86 versions of Windows and Linux. This difference matters because old Windows installers may not work on newer Macs.

Step 1: Install VMware Fusion
- The user downloads VMware Fusion from the official VMware or Broadcom portal.
- The installer is opened from the Downloads folder.
- The VMware Fusion app is dragged into the Applications folder.
- macOS may ask for security approval in System Settings.
- Fusion is launched and signed in if required.
Honestly, it feels like the account and download steps take longer than they should. The actual app install is quick. The waiting usually comes from login screens, license prompts, and macOS permission checks.
Step 2: Create a New Virtual Machine
After VMware Fusion opens, the user selects File > New. Fusion then offers a few setup options. The most common choice is Install from disc or image. This uses an ISO file, such as a Windows or Linux installer.
For Apple silicon Macs, the user should select an ARM-ready installer. For Windows, that usually means Windows 11 ARM. For Linux, Ubuntu ARM and Fedora ARM are common picks.
The virtual machine should be named clearly. A name like Windows 11 Test VM is better than VM1. Small habits like this help later, especially when several test systems pile up.
Step 3: Choose CPU, Memory, and Storage
Fusion will suggest default settings, but they are not always ideal. A light Linux VM can run with 2 CPU cores and 4 GB RAM. Windows 11 feels better with 4 CPU cores and 8 GB RAM, if the Mac has enough memory.
- Basic Linux use: 2 cores, 4 GB RAM, 40 GB disk.
- Windows app testing: 4 cores, 8 GB RAM, 80 GB disk.
- Developer work: 4 to 6 cores, 8 to 16 GB RAM, 100 GB or more.
The virtual disk can grow as files are added. That saves Mac storage at first. Still, the user should keep at least 20 percent of the Mac’s internal storage free. A full Mac gets cranky fast.
Step 4: Install the Guest Operating System
Once the VM starts, the guest installer appears. The user follows the normal setup steps for Windows or Linux. The virtual disk is safe to erase inside the installer because it is not the Mac’s real drive.
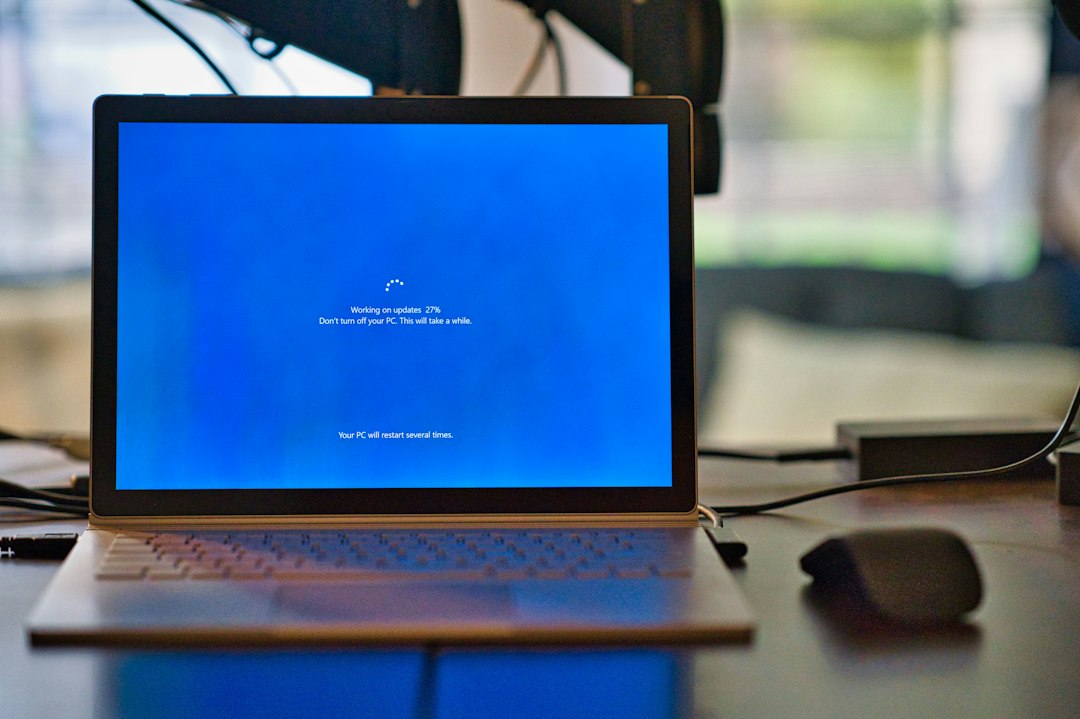
After the first boot, VMware Tools should be installed. This improves graphics, mouse movement, screen resizing, copying, pasting, and shared folders. In Fusion, this option is usually found under Virtual Machine > Install VMware Tools.
Step 5: Set Up Sharing and Networking
Most users need files to move between macOS and the VM. Fusion can share Mac folders with the guest system. A safe setup is to share one folder called VM Shared instead of the whole Mac home folder.
Networking also matters. NAT is best for most people. It lets the VM use the Mac’s internet connection. Bridged networking gives the VM its own place on the local network. That helps with servers, lab work, and device testing.
Step 6: Use Snapshots Before Risky Changes
A snapshot saves the VM’s current state. If an update breaks something, the user can roll back. This is one of the best reasons to use Fusion instead of a spare laptop.
Snapshots are helpful before:
- Installing unknown software.
- Changing system files.
- Testing beta apps.
- Applying major OS updates.
The catch is that snapshots use storage. Keeping five old snapshots for no reason is a good way to waste disk space. One or two fresh snapshots are usually enough.
Common Uses for VMware Fusion
VMware Fusion works well for software testing, browser checks, school labs, IT training, and running business apps that lack a Mac version. It also helps when a user wants to keep risky tools away from the main macOS system.
It is not perfect for every task. Heavy gaming, advanced 3D work, and apps that need special hardware may run poorly or not at all. For those cases, a real Windows PC may still be better.
FAQ
Can VMware Fusion run Windows on an M series Mac?
Yes, but it usually needs Windows 11 ARM. Standard Intel Windows installers are not meant for Apple silicon Macs.
Is VMware Fusion free?
VMware Fusion Pro is free for personal use. Business or commercial use may need a paid license.
Does VMware Fusion slow down the Mac?
It can. The VM uses CPU, RAM, and storage. A Mac with 16 GB RAM or more gives a much smoother result.
Can files be shared between macOS and the VM?
Yes. Shared folders, drag and drop, and copy paste can work after VMware Tools is installed.
Should snapshots replace backups?
No. Snapshots help with quick rollback inside Fusion. They are not a full backup of the Mac or the VM.